The Ultimate Guide: How to build your own artist website
[ezcol_2third]
Why did I write this guide?
Having a web presence is essential for any visual artist. It can help establish your reputation, build or widen your audience and promote the work you do.
But so many artists are put off by the thought of having to pay huge sums of money to have a site designed, or worse, suffer through the tech-trauma of having to build it themselves! Well, here’s the good news. Nowadays it’s possible to create an artist website for very little money and with virtually no technical skill. I have built several sites (including TextileArtist.org) myself and, although I have picked up a bit of knowledge about HTML and CSS along the way, I started out with absolutely no skills in these areas and it didn’t hinder me at all.
My aim in this guide is to show you how simple it can be.
We’re going to go back to basics and look at building an artist website from the ground up, step by step with no jargon.
There are numerous ways of getting a website up on the internet, but I’m going to share with you the way I like to do it – the pain-free way! This means, to avoid confusion, I won’t be giving you many options; I’ll be teaching you how to use the tools and services I have found to be the most straightforward (including the brilliantly user-friendly WordPress platform).
We’ll use solutions that won’t cost a fortune
I’ll show you how to build a portfolio website that will be:
Customisable – You’ll be able to make it look individual and professional with custom colours and fonts
Updateable – You’ll easily be able to update the site yourself
[/ezcol_2third] [ezcol_1third_end] [/ezcol_1third_end]
Who is this guide for?
This guide is for any artist who feels they haven’t got the necessary technical skill to build a website from the ground up. It’s for any artist who wants to present themselves in a professional manner with a beautiful online environment in which to showcase their work. It’s for any artist who can’t afford or doesn’t want to pay huge sums of money for a bespoke web design service with no real guarantee of the outcome. In short, I wrote this guide for you!
Affordable not free
Now, first things first, you’ll notice I said you can build your artist website for ‘very little money’. Of course it is actually possible to build a website of sorts for free with services like Cargo Collective or Posterous, or blogging platforms like Blogger, Tumblr and Live Journal. Before we move on, here is why I don’t recommend using these services to promote your work as an artist.
[ezcol_1quarter] [/ezcol_1quarter] [ezcol_3quarter_end]
- The generic layout of free-hosted sites won’t make you stand out from the crowd.
- They don’t look professional – free sites give the impression that you can’t afford a bespoke website, or worse, you don’t care enough about your visual art to give it stylish online representation.
- The options with these platforms are very limited in terms of style and layout.
- You will also be limited by the number of visitors the bandwidth can take, meaning that the site could be blocked after a surge in traffic.
- Many of the free providers make money with advertising – your art will take second-place to all sorts of banner-ads, meaning user-experience is severely compromised.
[/ezcol_3quarter_end]
OK. Hopefully I’ve convinced you that spending a tiny bit of money is a good investment if you want to have a professional web presence. Now let’s go through the process step by step.
How much of the guide should I read?
This guide is designed to be un-intimidating. Each chapter is short with clear actionable steps for you to take. Having said that, there’s a lot of material; I wanted to be as thorough as possible.
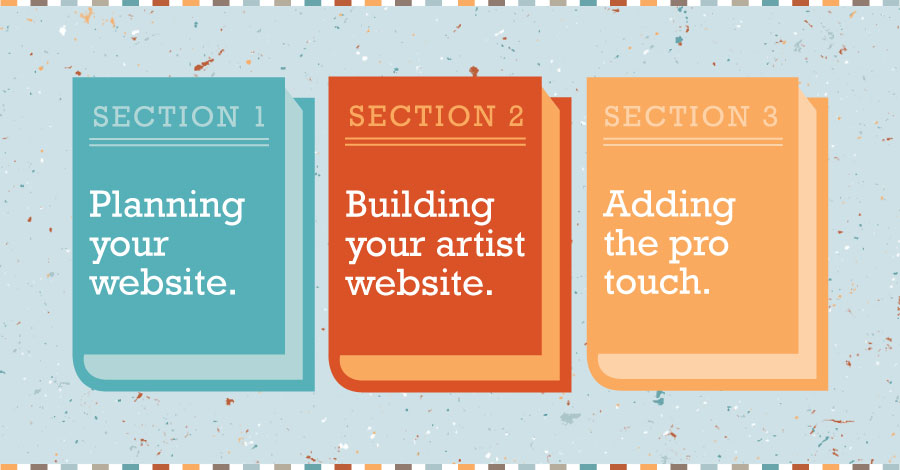
Section 1 will take you through the step-by-step process of planning a website to truly showcase your artwork, ensuring you’re on target to create a professional and streamlined online portfolio.
Section 2 covers the technicalities of creating an artist website. We work through registering a domain name, getting web-hosting, and installing WordPress. I’ll also show you how to build the pages of your website using the Klasik WordPress theme from ThemeForest.net (the theme I used to build DarenRedman.com) as a basic template.
Section 3 is all about taking your site to the next stage and includes advise on promotion, blogging, basic search engine optimisation, and setting up a newsletter.
What is covered in this guide?
Section 1: Planning your artist website
[ezcol_2third]
- Introduction
- 1. Establishing your website objectives
- 2. Choosing a domain name
- 3. Planning the pages of your art site
- 4. Creating the content for your artist website
- 5. Preparing the text and images for your site
- 6. Choosing a WordPress theme for your site
- 7. Planning the colours and fonts of your site
Bonus content
25 great WordPress themes for artists
How to photograph textile art
[/ezcol_2third] [ezcol_1third_end]

[/ezcol_1third_end]
Section 2: Building your artist website
[ezcol_2third]
- Introduction
- 1. Registering your domain name and hosting your site
- 2. Installing WordPress
- 3. Uploading your theme
- 4. Basic WordPress Settings
- 5. Customising the look and functionality of your site (Klasik theme)
- 6. Creating your Home page (Klasik theme)
- 7. Creating your About page (Klasik theme)
- 8. Setting up your Gallery pages to showcase your artwork (Klasik theme and Justified Image Grid)
- 9. Creating a Contact page (Klasik theme)
- 10. Setting up the main navigation of your site (Klasik theme)
[/ezcol_2third] [ezcol_1third_end]
[/ezcol_1third_end]
Section 3: Adding the professional touch
[ezcol_2third]
Bonus content
[/ezcol_2third] [ezcol_1third_end] [/ezcol_1third_end]


